Yet Another Zombie Survivors Survivor Synergy Guide
How survivor pairs turn three solo picks into one lethal squad.
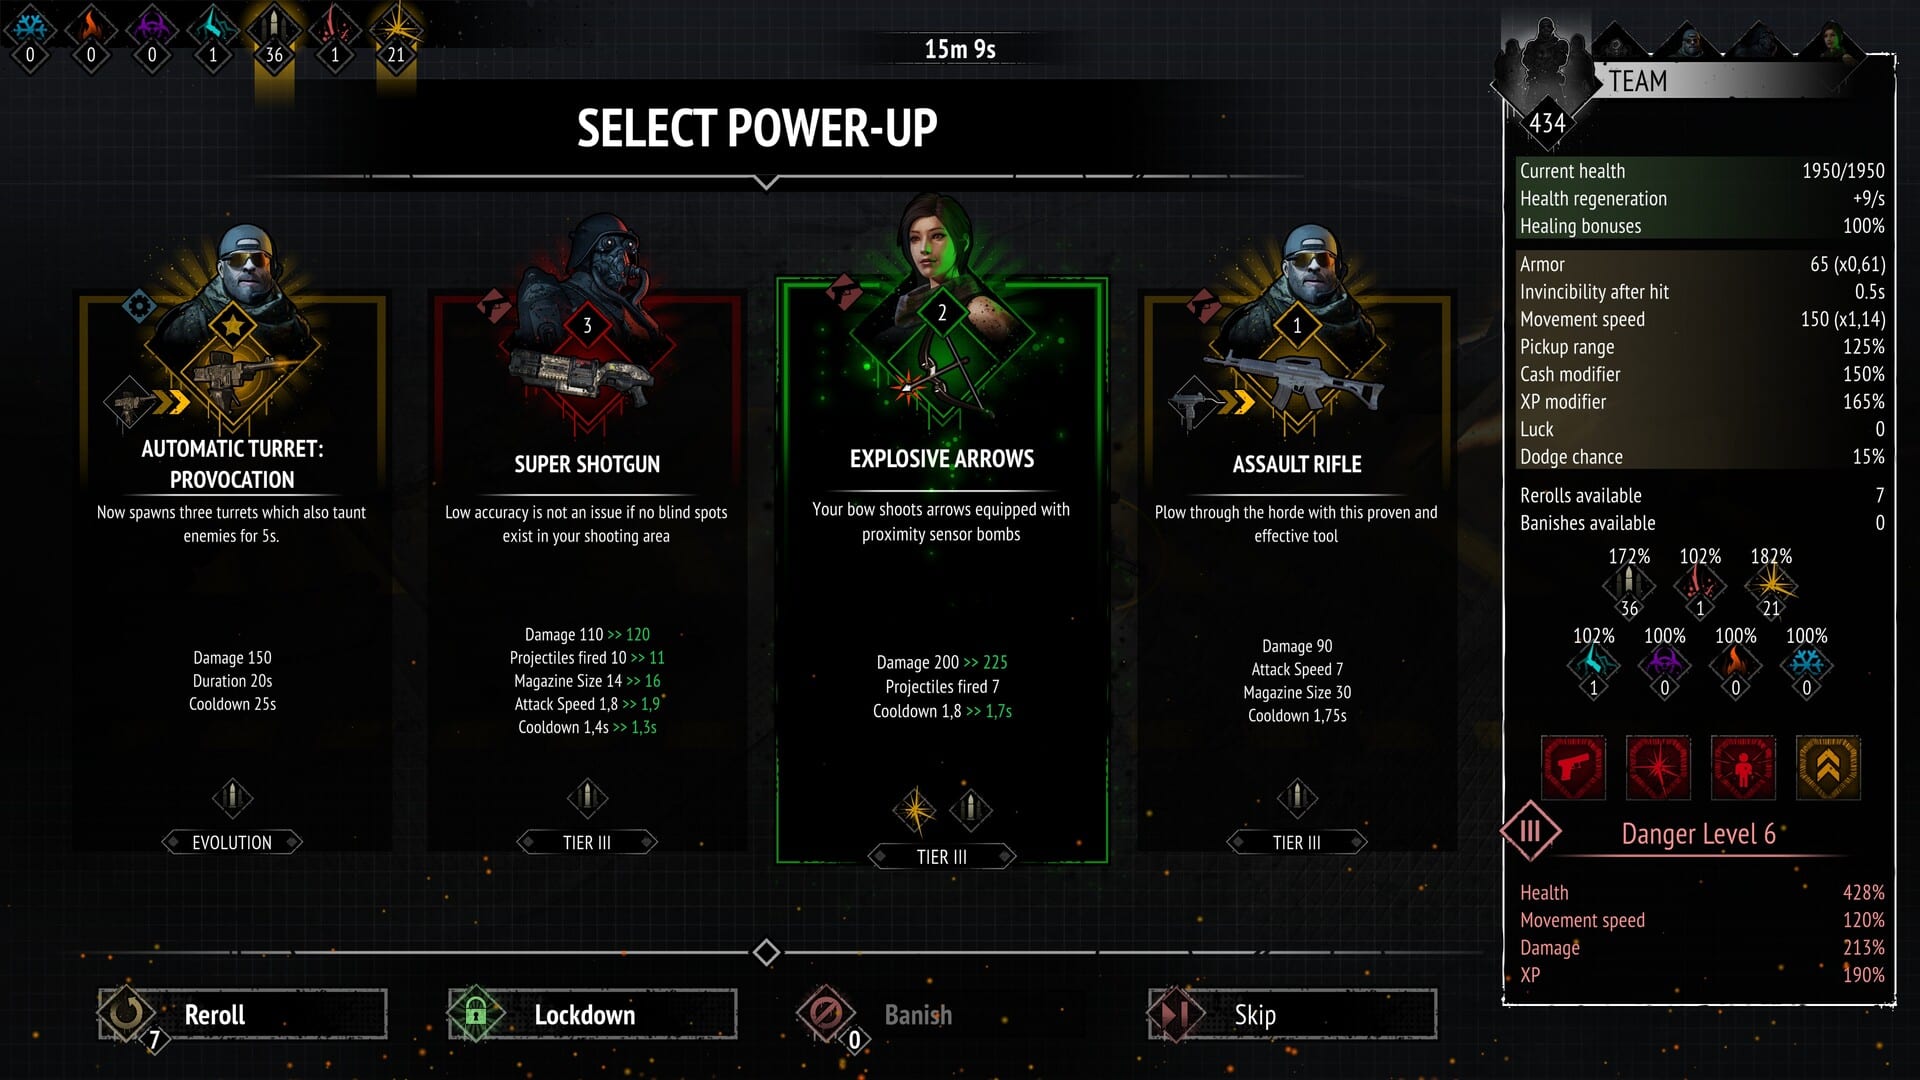
Synergy is the passive bonus layer that appears when compatible survivors share a squad. It is not a meter you fill. It is a set of unlock conditions that light up automatically once the right characters occupy the same three slots. Understanding synergy is the difference between picking three S-tier survivors and picking the right three survivors for each other.
Version 1.0 adds a fifth rank to every survivor tree with new synergy nodes, passive improvements, and a team bonus that activates while that survivor is present in the squad. Each leader can build up to eight synergies, so there is room to experiment with four and five-synergy combinations before committing to a full trio.
Simple versus mutual synergy
Simple synergy improves one survivor’s ability based on another character being present in the squad. The bonus flows in one direction. If you bring Medic next to Huntress, Huntress gains extra effects from her abilities. Medic does not gain anything from Huntress in that specific pairing.
Mutual synergy works both ways. The two survivors enhance each other’s abilities simultaneously. Engineer and Mechanic together is a mutual pair: Engineer abilities trigger Mechanic effects, and Mechanic abilities trigger Engineer effects. The result is more passive triggers than either survivor could generate alone.
This distinction matters when you are evaluating a trio. A squad with two mutual pairs generates more passive effects than a squad with three simple pairs, even if the nominal synergy count is the same.
How synergy unlocks
Synergies become available through the Upgrades system at Tier II, Tier III, and Tier IV of each survivor’s personal skill tree. They are not available at Tier I. A survivor with zero upgrades in their own tree contributes no synergy to the squad, even if they are the leader.
Rank 5 nodes in 1.0 add new synergy effects and passives. A rank 5 Ranger in the squad adds the Fear application chance to Grenade Tails, which other survivors cannot provide regardless of how they are built. This makes rank progression more meaningful than it was in Early Access.
Best three-person combinations
SWAT, Tank, Pyro — explosive and fire
This is the highest-synergy offensive combination in 1.0. The three-way interaction between these survivors produces:
Automatic Turret has a 10% chance to fire a shotgun slug. Bombing Strike can spawn additional Grenades. Mines leave behind a burning area after exploding. Fire Path can occasionally plant Mines along its path. Helicopter Strike leaves a trail of Fire behind it.
The team does not rely on one enormous attack. SWAT provides the firearms and explosive pressure. Tank adds durability and mine-based control. Pyro turns every mine, decoy, and airstrike into a persistent fire hazard. The result is constant area denial that scales with the number of enemies on screen.
This trio works in Default, Hardcore, and Endurance. It is less effective in Boss Rush 1.0 where burst matters more than persistent fire zones.
Medic, Huntress, Pyro — sustain and elemental
A sustain-oriented combination that trades raw burst for healing and status stacking. Notable effects:
Killing an Elite or Boss restores 30 HP. Arrow Rain can release Toxic fumes. Resuscitation burns enemies when activated. Picking up a Healthpak can apply Burn to nearby enemies. Molotov has a 50% chance to taunt enemies when it explodes.
This gives the team mixture of sustain and area damage without requiring the leader to be a damage dealer. Medic keeps the squad healthy during longer Endurance runs. Huntress provides crit-focused single-target through Eagle Eye. Pyro adds more ways to apply Burn.
Use this when you want to survive past minute 30 in Endurance rather than delete everything before it arrives.
Engineer, Mechanic, Ranger — electric, freeze, and marked
The technical status-effect combination. Synergies here lean heavily into Electric, Freeze, and Marked interactions:
Transmitter creates an Electric Damage ring when it spawns. Ice Turret taunts enemies for 3 seconds after spawning. Good Boy can drop Freeze mines when it hits a Marked enemy. Incense pulses have a 20% chance to apply Electrified. Marked enemies have an additional chance to become Electrified.
This team does not have a single big damage button. Instead it constantly layers status effects across groups of enemies. Marked targets become especially important because several abilities gain additional effects against them. Huntress gains plus 50% Critical Chance against Marked targets through Ranger’s synergy contribution.
Use this when you want to play a technical control build rather than a raw damage race.
SWAT, Ghost, Medic — defensive with sustain
The improved Dodge interaction is the core of this combination. Synergies give:
Increased Dodge effectiveness against projectiles. Holo-Bait releases a Grenade when it expires. Medical Drone attacks have a 50% chance to Ricochet. Ghost restores 1 HP for every zombie killed by Ghost.
Ghost is already capable of sustaining itself through kills. Medic adds additional healing-related utility. SWAT brings the offensive pressure so you are not building a team that is only good at surviving.
If projectile-heavy enemies are giving you trouble in Hardcore, the improved Dodge interaction is reason enough to consider this setup.
Per-survivor synergy breakdown
SWAT synergies
SWAT works particularly well with survivors that add projectiles, explosions, or status effects to his existing kit. His notable synergy contributions:
Automatic Turret gets a 10% chance to fire a shotgun slug. Bombing Strike can spawn Grenades. Zombie Decoy can produce twice as many Grenades. Dodge effectiveness against projectiles can be doubled. Holo-Bait releases a Grenade when it expires. Medical Drone has a 50% chance to Ricochet. Helicopter Strike leaves Fire behind. Grenade Tails can sometimes apply Fear.
Do not look for another high-damage survivor to pair with SWAT. Look for someone whose synergy can make his existing weapons do something extra.
Tank synergies
Tank fits extremely well with Pyro and Engineer. His notable contributions:
Bombing Strike spawning Grenades. Automatic Turret firing shotgun slugs. Enemies touching certain effects becoming Electrified. EMP Grenade releasing shotgun pellets. Bear Trap spawning a Sawnblade Drone. Fury Unleashed gaining Health Regeneration. Mines creating Fire zones. Fire Path occasionally planting Mines.
Tank is naturally suited to builds that want enemies close enough for his defensive and area-control abilities to matter. Pyro turns every mine into a fire hazard. Engineer adds Electric effects to the chaos.
Engineer synergies
Engineer is one of the better choices for stacking status effects. His synergies produce interactions involving:
Electric Damage rings from Transmitter. EMP Grenade shotgun pellets. Frost Arrows following Electrocution. Electric Turret launching Kunais when deactivated. Shurikens dealing additional Electric damage. Marked enemies becoming more likely to be Electrified. Incense having a 20% chance to apply Electrified.
Engineer becomes especially interesting when paired with characters who already apply Marked or other status effects. The result is less about one enormous attack and more about constantly triggering secondary effects.
Huntress synergies
Huntress benefits heavily from combinations involving traps, Marked enemies, and elemental effects. Her synergies:
Zombie Decoy producing twice as many Grenades. Bear Trap spawning a Sawnblade Drone. Electrocution causing Frost Arrows to fall. Arrow Rain having a chance to release Toxic fumes. Killing an Elite or Boss restoring 30 HP. Molotov having a 50% chance to taunt enemies on explosion. Huntress attacks against Marked targets gaining plus 50% Critical Chance. Marked duration increasing by 3 seconds.
That last interaction is particularly useful if you are building around Marked enemies. Keeping targets Marked longer gives the rest of the team more time to take advantage of effects that specifically trigger against them.
Ghost synergies
Ghost is a good fit for teams that want survivability without completely sacrificing damage. Notable effects:
Holo-Bait releases a Grenade when it expires. Dodge Chance is doubled against projectiles. Shurikens deal additional Electric damage. Electric Turret launches Kunais when deactivated. Ghost heals 1 HP for every zombie killed by Ghost. Pulsar has a 20% chance to Freeze enemies. Mechanic melee attacks receive a 50% increase. Falcon hits against Marked enemies can spawn Shurikens.
Ghost healing on kill is particularly useful in long runs because it rewards you for continuing to kill rather than simply trying to avoid damage.
Medic synergies
Medic works best when the rest of the team can take advantage of the healing and status effects she brings. Synergies:
Medical Drone attacks having a 50% chance to Ricochet. Fury Unleashed granting Health Regeneration. Killing Elites and Bosses restoring 30 HP. Arrow Rain having a chance to release Toxic fumes. Ghost kills restoring HP. Resuscitation burning enemies on activation. Healthpak pickups applying Burn nearby. Experiment 21 having a chance to Stun.
Medic is more than a defensive pick. She contributes crowd control and elemental effects while still providing the sustain you would expect.
Pyro synergies
Pyro is where the synergy system gets particularly fun. Several effects revolve around spreading Fire:
Helicopter Strike leaves a Fire trail. Fire Path can plant Mines. Mines leave burning areas after exploding. Molotov has a 50% chance to taunt enemies. Healthpak pickups can Burn nearby enemies. Resuscitation burns enemies when activated. Makeshift Bomb can release spanners toward random enemies. Remote Control Car leaves a Fire trail.
Pyro naturally pairs well with Tank because Mines become much more dangerous when Fire is added to them. The SWAT, Tank, Pyro combination is the easiest recommendation for players who want constant area damage.
Mechanic synergies
Mechanic has several unusual interactions that reward pairing him with status-heavy survivors. His synergies:
Transmitter creating an Electric Damage ring. Electrocution interactions producing Frost Arrows. Electric Turret launching Kunais when deactivated. Shurikens gaining additional Electric damage. Mechanic melee attacks increasing by 50%. Pulsar having a 20% chance to Freeze. Remote Control Car leaving Fire behind. Makeshift Bomb releasing spanners. Ice Turret taunting enemies for 3 seconds. Good Boy creating Freeze mines against Marked enemies.
This is why Mechanic works nicely with Engineer and Ranger. There are several ways for the team to turn one status effect into another.
Ranger synergies
Ranger is particularly interesting when building around Marked targets. His synergies:
Grenade Tails sometimes applying Fear. Incense having a 20% chance to Electrify enemies. Marked enemies having an additional chance to become Electrified. Marked duration increasing by 3 seconds. Huntress gaining plus 50% Critical Chance against Marked targets. Falcon spawning Shurikens against Marked enemies. Experiment 21 having a chance to Stun. Good Boy dropping Freeze mines against Marked enemies. Ice Turret taunting enemies for 3 seconds.
Ranger fits naturally into teams that want to keep enemies under status effects for as long as possible. His Fear application adds a crowd-control dimension that no other survivor provides.
How to use this page
Pick the trio that matches your current goal. Use the per-survivor breakdown when you are substituting one slot. If you are taking SWAT, Tank, and Pyro but you need to replace Pyro because of a HUB quest requirement, look at the Pyro section to find another survivor who provides fire-related synergies. Engineer with Pyro still gives you fire mines without the full Pyro kit.
Synergy is a passive system. It activates automatically when the conditions are met. You do not need to toggle anything or spend points during a run. The only active decision is which three survivors enter the loadout screen together.
Pair this page with the squad planner for a clickable trio picker. Pair it with the tier list pages when you need to decide between synergy value and raw survivor power. A high-synergy B-tier trio will often outperform a zero-synergy S-tier trio in Endurance past minute 30.
When you are ready to theorycraft your own combinations, start with the question: does each survivor make at least one other survivor on the team meaningfully better? If the answer is yes for all three slots, you have a synergy squad worth testing.
Frequently Asked Questions
Quick answers to the most common questions.
What is the difference between simple and mutual synergy?
Simple synergy improves one survivor based on another being present. Mutual synergy works both ways: both survivors enhance each other.
How do I unlock synergies?
Synergies unlock through the Upgrades system at Tier II, III, and IV of each survivor's personal skill tree.
What is the best synergy trio?
SWAT, Tank, and Pyro for explosive area damage. Engineer, Mechanic, and Ranger for status-effect control. Medic, Huntress, and Pyro for sustain.
How many synergies can a leader have?
Up to eight synergies per leader, allowing for complex multi-survivor combinations.