Yet Another Zombie Survivors Guides
From the first Isolated City drop to Bio Lab, Hardcore, and prestige.
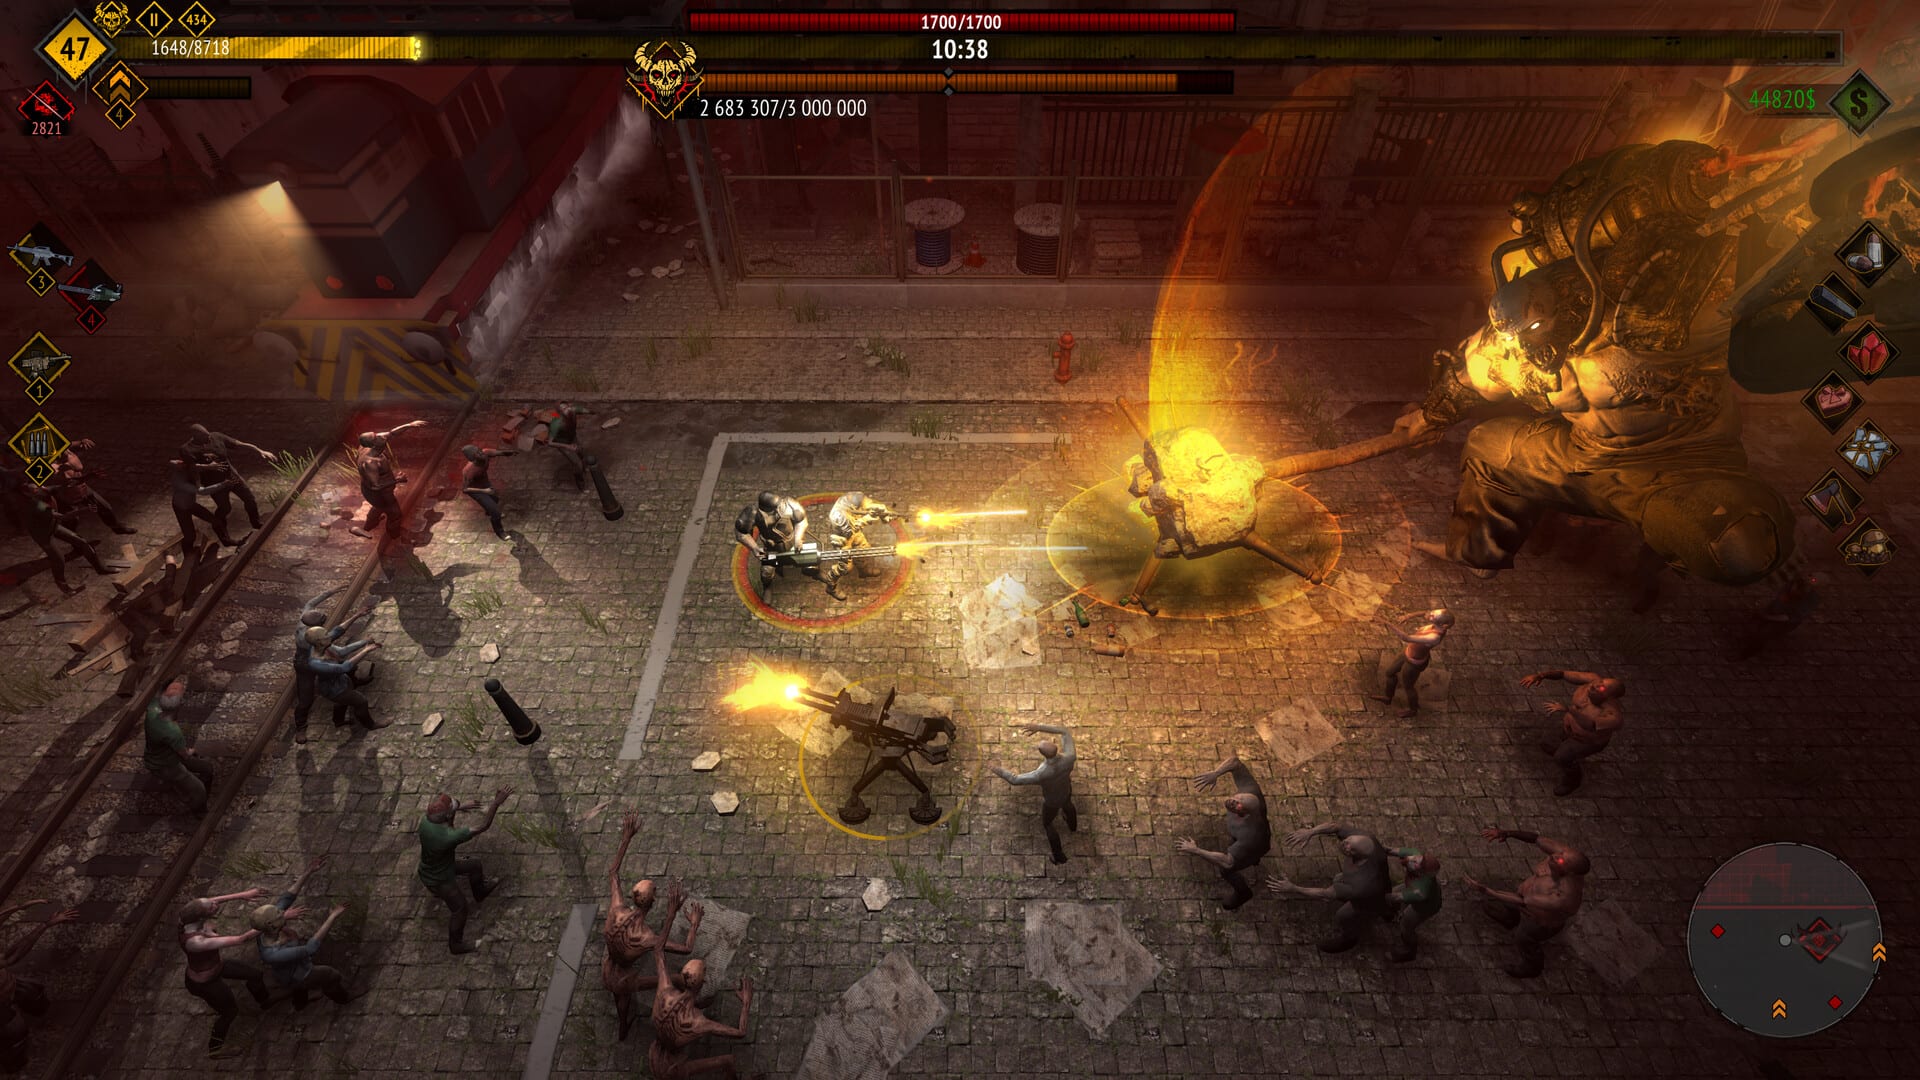
This hub is the map of every Yet Another Zombie Survivors tutorial on the wiki. The game is a single-player bullet heaven: you steer a squad of up to three survivors while they aim and fire on their own. Version 1.0 launched on 20 August 2026 on Steam, GOG, PlayStation 4, PlayStation 5, Xbox One, and Xbox Series consoles. If you are arriving from Early Access, start with the 1.0 notes and then jump into the mode that is currently blocking you.
New players should open Getting Started before anything else. That page covers the first Isolated City run, why movement matters more than aiming, and how a Default dawn actually ends. Pair it with Controls so you know what E and R do, how manual aim works, and why auto-fire is the intended loop.
First-hour path
The intended onboarding is short. Survive Default on Isolated City until dawn (about twenty minutes). Rescue extra survivors when the screen corners ping. Spend money on Training Points after the run. Then chase the Huntress unlock so your second hour has a crit engine. The unlock guide lists every roster milestone we can verify, including Mechanic and Ranger, and the unlock checklist is the printable version of the same list.
Once Isolated City feels honest, read Survive until dawn. It is the Default-mode walkthrough: gem routing, magnet discipline, weapon-first level-ups, and how to stop getting boxed in during danger levels five and six. If you already clear dawn and still die in Hardcore, skip ahead to How to beat Hardcore. That mode lasts ten minutes, hits harder, and punishes turret clutter.
Maps, training, and 1.0 systems
The maps walkthrough is the geography page: Isolated City, Vile Wasteland, Green Hell, Dead Terminal, and the circular Bio Lab added at 1.0. Each map has its own hazard, unique enemies, and mode unlocks. You open the next map by winning Default on the last one you own. Modes unlock per map, so Hardcore on the desert does not gift Hardcore on the swamp.
Permanent power lives in Training and prestige. Training Points are fully refundable. Role Player (XP), Gotta Go Fast, and Bigger Bullets are the usual first spend. Nine survivor skill trees plus a prestige loop sit on top of that meta once 1.0 content is in play. If you want a buying decision instead of a mechanic, read the 1.0 review for platforms, system needs, and who the game is actually for.
How these guides connect to ranks and items
Tutorials here assume you will also use the ranking pages. After you know how to move, open the survivor tier list, the weapon tier list, and the best squads page. Build recipes live under best builds. Item chests, magnets, and achievement gear are covered in items. If you want a clickable trio picker, use the squad planner.
Patch context lives in Updates Hub and the dedicated version 1.0 article. Official tracking is on the Trello roadmap and the Links Hub. None of those pages replace a run: they tell you which run to take next.
Use this hub when you are lost. Use a child page when you have a specific failure: a missed dawn, a locked survivor, a worm that eats the desert, or a Bio Lab ring that cooks you on the red line. After the city feels honest, open HUB and quests for The Camp, game modes for Endurance versus Infinite, How to beat Boss Rush for the minute-ten finale, and Bio Lab before you farm the ring. Ranger and prestige have their own pages under Survivors.
Frequently Asked Questions
Quick answers to the most common questions.
Which guide should I read first?
Start with Getting Started, then Controls, then Survive until dawn. Unlock Huntress before you grind Hardcore.
Do these guides cover 1.0?
Yes. Ranger, Bio Lab, the HUB, story quests, and the reworked Boss Rush are included. Early Access-only advice is called out when it no longer applies.
Is this an official wiki?
No. It is an unofficial fan resource. Confirm numbers in Zombiepedia, patch notes, and the studio Trello when a patch lands.