Enemies in Yet Another Zombie Survivors
Every zombie, elite, boss, and map hazard you will face from Isolated City to Bio Lab.
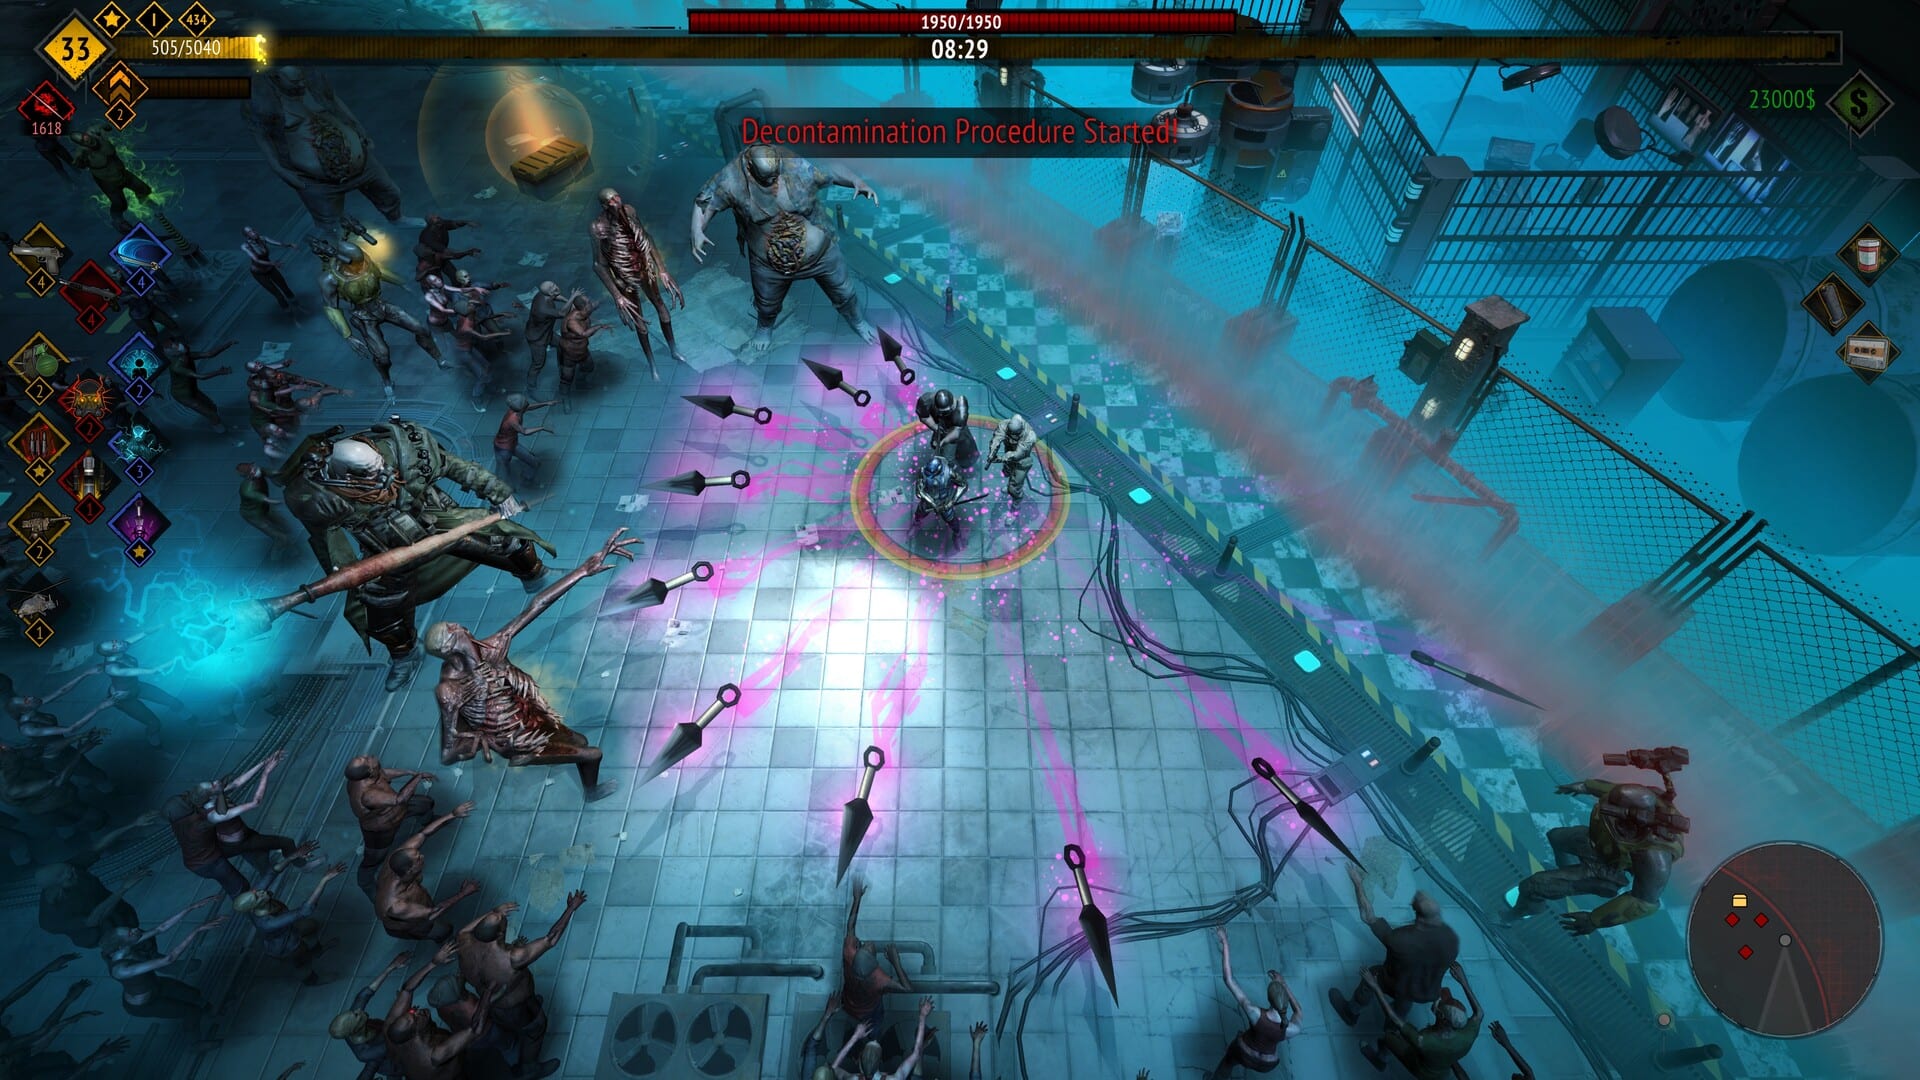
Enemies in Yet Another Zombie Survivors range from basic zombies that die in one hit to arena bosses that define the minute-ten finale of Boss Rush. Most enemies scale with the danger level, meaning the same zombie type that was trivial at danger one becomes a threat at danger six. Understanding what each enemy does, where they appear, and how to counter them is the difference between a panic run and a controlled dawn.
This guide covers the enemy roster as of 1.0, including the map-exclusive variants added in Early Access and the arena bosses introduced at launch.
Basic zombie types
Basic Zombie
The most common enemy. Basic zombies spawn in large numbers and die easily to any evolved weapon. They exist to fill the screen and test your movement, not to threaten a competent squad. At higher danger levels their health and damage scale, but they never gain special abilities. The primary threat from basic zombies is crowding: too many in one spot creates a body wall that blocks movement and enables other, nastier enemies to land shots.
Runner
Faster zombies that close distance quickly. Runners appear more frequently as danger increases. They are not dangerous individually but become problematic in groups because their speed lets them cut off escape routes. Kiting a Runner-heavy wave requires keeping movement continuous and never letting them get between you and your preferred exit lane.
Boomer
Creates a damaging gas cloud on death. Boomers are the reason you do not stand on top of a pile of corpses during Endurance. The gas cloud persists for several seconds and damages anything inside it, including other zombies. This makes Boomers useful for unintended AoE strategies: a Boomer dying inside a Pyro fire zone creates a toxic fire cloud that damages everything that passes through. A Boomer dying inside an Engineer Tesla field creates an electric cloud. Use this against them in Default by not clustering, or use it for you by leading Runners and Boomers into fire zones.
Spitter
Spits projectiles toward the player. Spitters are the unique annoyance of Isolated City: their acid projectiles punish standing still. The spit has travel time and is visible, so skilled players can dodge it by moving perpendicular to the trajectory. Spitters are the reason the Getting Started guide emphasizes continuous movement over aiming. If you stop to line up a shot, a Spitter cone is already in the air.
Desert Spitter is a Vile Wasteland-exclusive variant with the same behavior in a different environment.
Spider / Slime
Exclusive to Vile Wasteland. Spiders explode into a small web trap on death that slows players who walk through it. If Arachnophobia Mode is enabled in options, this enemy changes to a Slime that explodes into a slowing slime puddle instead. The web and puddle are environmental hazards that persist after the spider is dead. In a tight Runner or Charger wave, these traps can block an exit lane at the worst moment.
Fly
Flies are summoned by Witches and take exactly one hit from any weapon or ability to defeat. Multiple flies can be killed simultaneously with AoE damage sources such as Energy Shield or Electric Turret. They follow a straight-line charge path and do not deviate. Killing the Witch that spawned them stops new fly spawns, but existing flies continue their charge until they hit something or expire.
Mummy
Exclusive to Vile Wasteland. Mummies spawn in a circle around the player and close inward over time. At least one must be killed to create a gap large enough to exit the circle without taking damage. The number required increases as the circle narrows. Mummies disappear approximately thirty seconds after spawning if not killed. The Mummy circle is not a DPS check in the traditional sense; it is a positioning check. You must be able to clear one side while the rest of the squad holds the opposite edge.
Scarab
Exclusive to Vile Wasteland. Scarabs explode on death, dealing damage in a small area. Like Boomers, they can be weaponized by leading them into fire zones or Tesla fields. They are smaller and faster than Boomers, making them harder to position for these combos but equally effective when pulled off.
Boss zombies
Boss zombies spawn at set danger levels and have distinct mechanics that require specific counters. They do not scale the same way basic zombies do; bosses have fixed health pools and attack patterns per encounter.
Butcher
The most common boss in Isolated City and Vile Wasteland. Butcher is a large zombie with high health that attacks by charging and melee swings. The charge has a telegraphed trajectory shown as a predictive arrow, similar to the Charger boss. Moving perpendicular to the arrow once it locks position is the standard dodge. Butcher in groups appears on higher danger levels.
Witch
Summons a swarm of Flies that charge in a straight line. Each fly is an individual enemy taking one hit to kill. Witches themselves do not attack directly but become more dangerous the longer they live because fly spawns continue. AoE abilities that clear flies efficiently are the counter. Electric Turret and Energy Shield are particularly effective because they damage all flies simultaneously without requiring precise aim.
Charger
Large zombies with considerable health that attack by preparing to charge at survivors. While preparing, players can see the trajectory the Charger plans to take via a predictive arrow. The counter is to move in one direction until the predictive arrow locks positionally, then quickly move away from that position. A well-timed dodge sends the Charger past you while you reposition for another pass. Chargers become more common in Hardcore and Endurance.
Big Mummy
Exclusive to Vile Wasteland. Attacks by launching huge sand projectiles that split into smaller ones at a certain distance, and by smashing the ground to create a cone-shaped rock spike attack in front of it. Additionally summons Scarabs to attack survivors. Big Mummy is the most mechanically complex basic boss in the game, requiring awareness of both the projectile split timing and the ground smash cone. The rock spike attack is the primary danger because it is harder to see telegraphed than the sand projectiles.
Map hazards
Desert Worm
The sand worm spawns periodically on Vile Wasteland, shown by a red growing circle suddenly appearing under the player. When it emerges, it deals high damage to anything in the circle, including other zombies. The sand worm does not have a health bar and cannot be killed. It is a positioning test rather than a combat encounter. The correct response is to exit the red circle before the worm emerges. The worm does not follow or chase; it simply executes its slam and despawns. Engineer shield blocks the damage if you are caught inside the circle. Speed Training helps you exit faster.
Feeding the worm five hundred zombies is a lifetime achievement, not a single-run strategy. Getting hit five times and living is another achievement. The worm exists to punish camping in one spot, not to be farmed.
Danger level scaling
As danger level increases from one to six, every non-boss enemy scales in health and damage. The exact multipliers are not published, but the practical effect is visible: a Basic Zombie that was a minor inconvenience at danger two becomes a body-block threat at danger five. Spitter projectiles hurt more. Runner packs cut off exits faster.
Different enemy types appear at different danger thresholds. Early danger levels are dominated by Basic Zombies and Runners. Spitters appear early but become more numerous. Boomers, Mummies, and Scarabs require higher danger or specific maps. Bosses appear at fixed intervals that do not scale with danger level.
Arena bosses (1.0)
Version 1.0 introduced arena bosses as a separate headline from Boss Rush. These are dedicated boss encounters in the arena game mode, not just tougher versions of map bosses. The arena boss rotation changes per run and includes versions of Butcher, Witch, Charger, and Big Mummy with enhanced health pools and modified attack patterns.
Arena bosses are why the 1.0 Boss Rush guide recommends burst weapons over persistent fire zones. A fire zone that clears trash effectively may not deal enough single-target burst to kill an arena boss before the timer expires. The minute-ten finale of 1.0 Boss Rush is an arena boss, not a map boss.
How to counter each enemy type
Against Basic Zombies and Runners: movement and evolved weapons. Neither is a threat individually. In groups, the evolved weapon handles them while you maintain kiting.
Against Spitters: never stop moving. The spit is a projectile with travel time, not a hitscan. Strafe perpendicular to the trajectory.
Against Boomers: do not stand on bodies. In Endurance, assume every corpse is a potential gas cloud until proven otherwise.
Against Mummies: clear one exit gap before the circle closes. AoE abilities handle the kill requirement efficiently.
Against Witches: prioritize the Witch over flies. Electric Turret and Energy Shield handle fly clusters.
Against Chargers: watch the arrow, move perpendicular, dodge at lock-on.
Against Big Mummy: watch for ground smash telegraph, maintain distance from the frontal cone.
Against Desert Worm: exit the red circle before emergence. Engineer shield is damage insurance.
Enemy spawn tables by map
Isolated City: Basic Zombie, Runner, Spitter, Boomer, occasional Butcher, Witch, Charger.
Vile Wasteland: Basic Zombie, Runner, Spitter, Desert Spitter, Spider, Mummy, Scarab, Butcher, Big Mummy, Charger.
Green Hell: Basic Zombie, Runner, Boomer, Spider variants, increased density.
Dead Terminal: increased elite density, all standard types plus faster spawn rates.
Bio Lab: high-tech enemies with enhanced stats, arena boss encounters.
Each map also has its own boss rotation. The boss spawn table is per-map, not global. Clearing Isolated City Hardcore does not unlock Hardcore bosses on other maps.
Pair this page with the maps walkthrough for spawn timing and the game modes guide for boss rush strategy.
Frequently Asked Questions
Quick answers to the most common questions.
What is the most dangerous enemy type?
Spitters are the most consistent threat because their projectiles punish the standing still that the game encourages. Chargers and arena bosses are more dangerous individually but appear less frequently.
How do I counter the desert worm?
Exit the red circle before it emerges. Engineer shield blocks the damage. The worm cannot be killed; it is a positioning test.
What is the difference between arena bosses and map bosses?
Arena bosses are dedicated 1.0 encounters with enhanced health and modified patterns. Map bosses are the Butcher, Witch, Charger, and Big Mummy that spawn on specific maps.
Do enemies scale differently across danger levels?
Yes. All non-boss enemies scale in health and damage as danger increases from one to six. Different enemy types also appear at different danger thresholds.